Disclaimer: Approaches can be mixed and matched, and other approaches exists. This is not an intent to give an exhaustive list of tutorials of what is possible but rather to give a first view of “how to do things” to start building. Each workflow is different and might required tailored approaches.
Let’s split the initial ask in two different workflows:
- Workflow 1 - How to compute annotations in a pipeline and display them in Workshop (potentially for edition)
- Workflow 2 - How to let users create new annotations (or edit existing one)
At a high level, the solution looks like the following picture:
- We store the raw files in a mediaset
- We process them in a pipeline
- We create a small ontology (Document and Annotations)
- We display the Documents and Annotations in Workshop
- We create/edit annotations via Action on the Ontology
Workflow 1 - How to compute annotations in a pipeline and display them in Workshop (potentially for edition)
For an exhaustive description of this workflow, see here: https://community.palantir.com/t/how-to-compute-chunks-of-documents-for-workshop-display-e-g-for-annotation-workflows/3291/2
Workflow 2 - How to let users create new annotations (or edit existing one)
Now we want to let our users annotate text or draw bounding boxes on our PDF documents. The workflow could be to capture annotation on PDFs for further pipeline processing, commenting, collaboration, correcting auto-detected layouts, etc.
Note: This would pretty much be the same on images, except you would use a different Workshop Widget, but which concepts are very similar.
You can create an additional Object Type called “Annotation” if you want your users to be able to create new annotation (text, areas, or both) on the documents you uploaded.
This annotation Object Type will have different properties, depending on the kind of annotation you want.
All are optional, e.g. if you don’t want the page, you can.
Text annotation
- a bounding box - or of type Array of string if it will be used for string/text selection as it will store the bounding box of each line as a stringified json
- text content (type string, which will collect the actual text on the page if any)
- the page number (Integer)
Area annotation
- a bounding box - type Array of string but will be filled with only one item, a json stringified
- the page number (Integer)
Hence, creating an object with a “bounding box”, “text content” and “page” should cover all options.
Let’s setup the annotation workflow:
- Create the Annotation object with “bounding box”, “text content” and “page” properties and a Link to the original Document.
- On this object, you will need to create an Action, which “Create an Annotation” by creating one instance of this object.
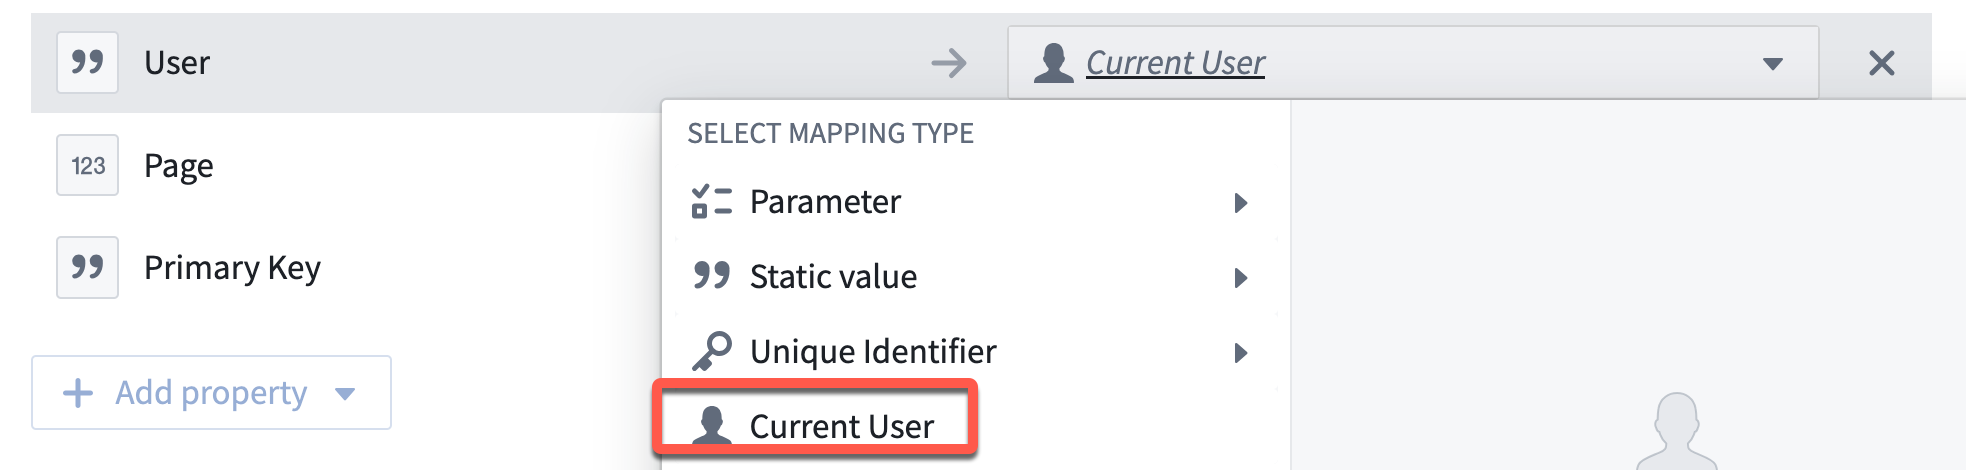
Note: You can include easily the current timestamp and the user creating the annotation, which are useful for most workflows.
- In the PDF Viewer widget, you will now be able to configure the Actions to “create annotations”. You can prefill the parameters of the Action by selecting specific values exposed by the Widget (like Page number, Selection coordinates, Highlighted Text, etc.)
Now on text selection, a tooltip will be shown and will trigger the action with the values prefilled.
Note: you can as well disable (non-editable) or hide those prefilled values and only keep what is relevant for the user to fulfill (e.g. “the name” of the annotation, a comment, etc.)
Now, on area selection (once the mode selected top right), the same tooltip will be shown and will allow the user to trigger the action of their choice, for example to annotate an area.
Those annotations are stored as object, and you can display them by following the same instructions as if they would be produced by the pipeline, specifically “If you have the coordinates of the box of the chunk”. of this post
Let’s display the annotations produced by our end users. We are in the subcase of “have the coordinates of the box of the chunk” of this post.
We configure the PDF Viewer widget by passing the variable containing all the chunks manaually created by our end users, to the widget, and specifying which property of the Object Type contains the bounding box.
Alternative: You can also display only the selected bounding box of your choice by passing a “select” variable containing the chunks you want to display (e.g. active or multi-selected chunks).
Note: You will also obtain a variable containing the “currently selected bounding box”, see arrow in purple on the below picture.
Note: You can use this “selected annotation” variable both way - to get the selection of the user in the PDF Viewer, but as well to select a particular bounding box. Hence you can pass all the chunks to the PDF Viewers, and highlight the one that is currently actively selected in the object list.
On click on a chunk in the list of chunks, the exact bounding box be drawn on the PDF !
Note: If you want as well the PDF to scroll to the right page, you need to pass the page number in the ”active page“ configuration of the PDF Viewer widget.
- Create a variable to extract the page of the selected chunk
- Use this variable to back the “active page number” of the PDF Viewer widget
On click on a chunk in the list of chunks, the PDF will be scrolled to the relevant page !
You can now annotate PDF, store the annotation and reuse them elsewhere, as well as leverage show existing ones !